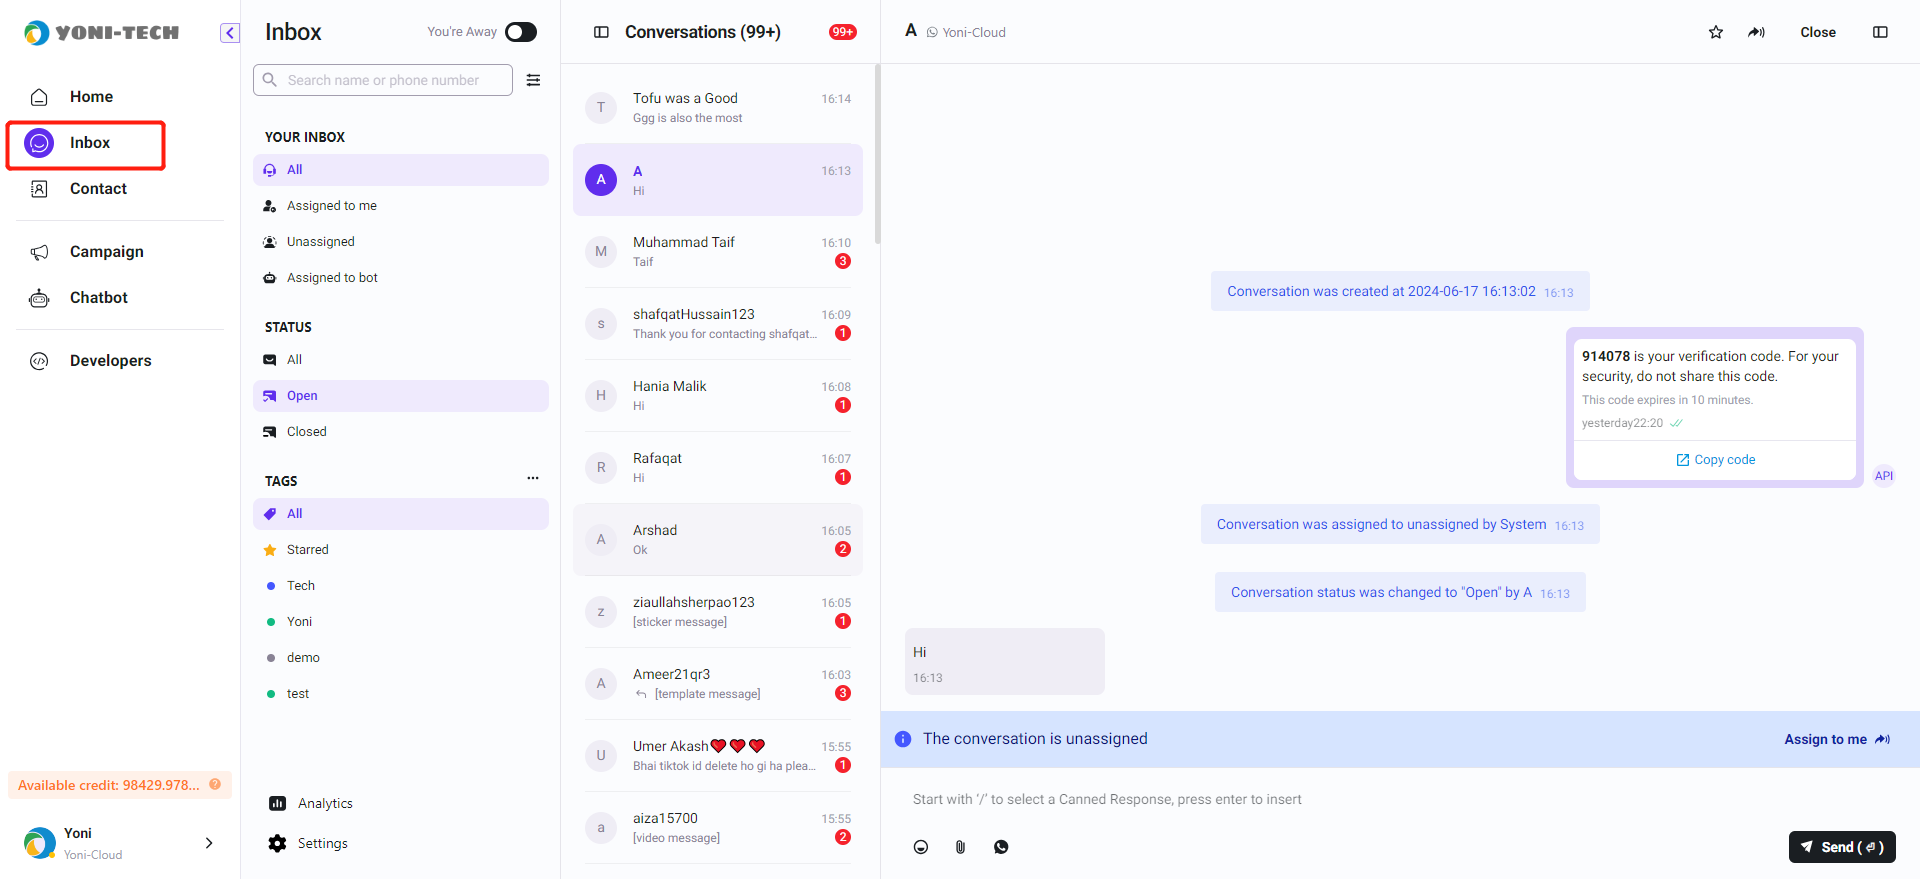
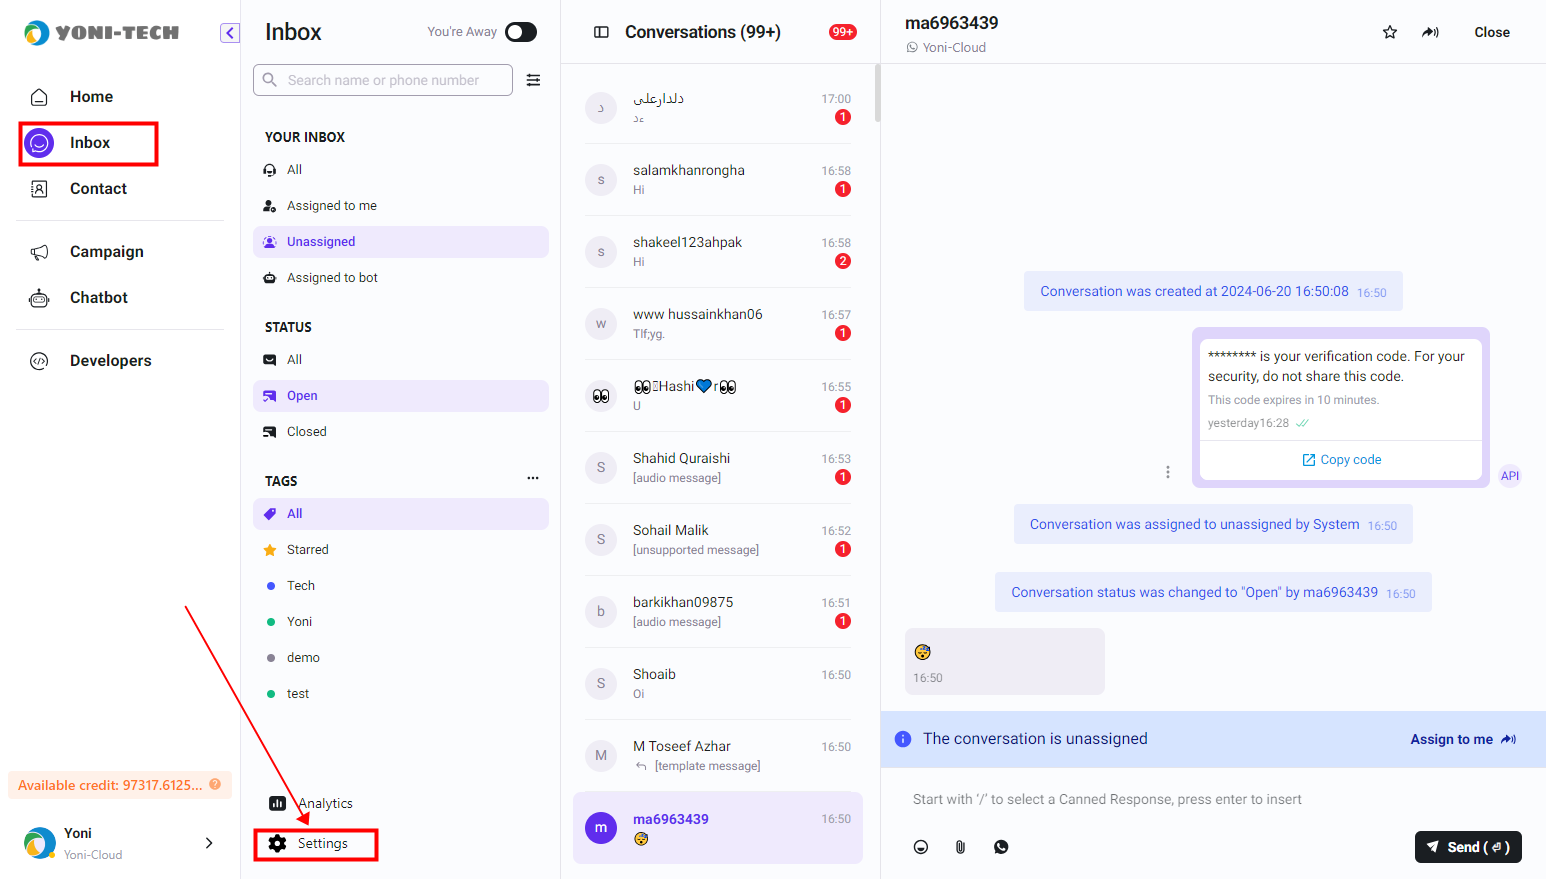
Access Inbox
Click Inbox As a admin, you can view all of the WhatsApp messages here.
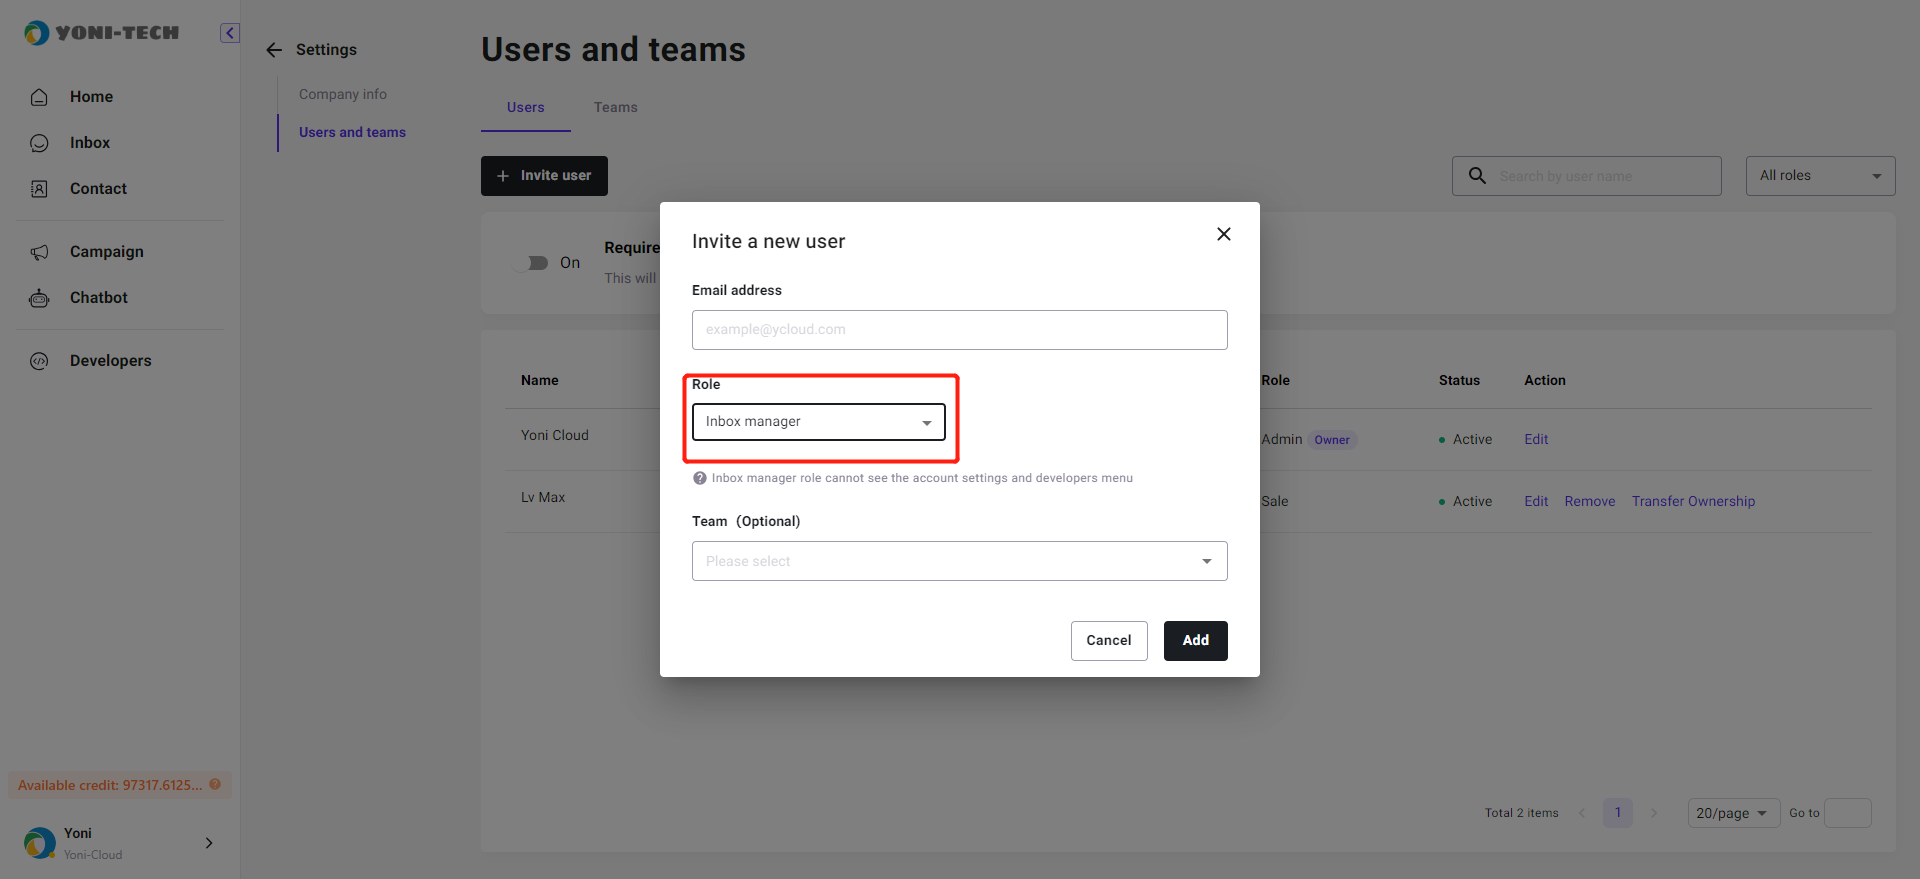
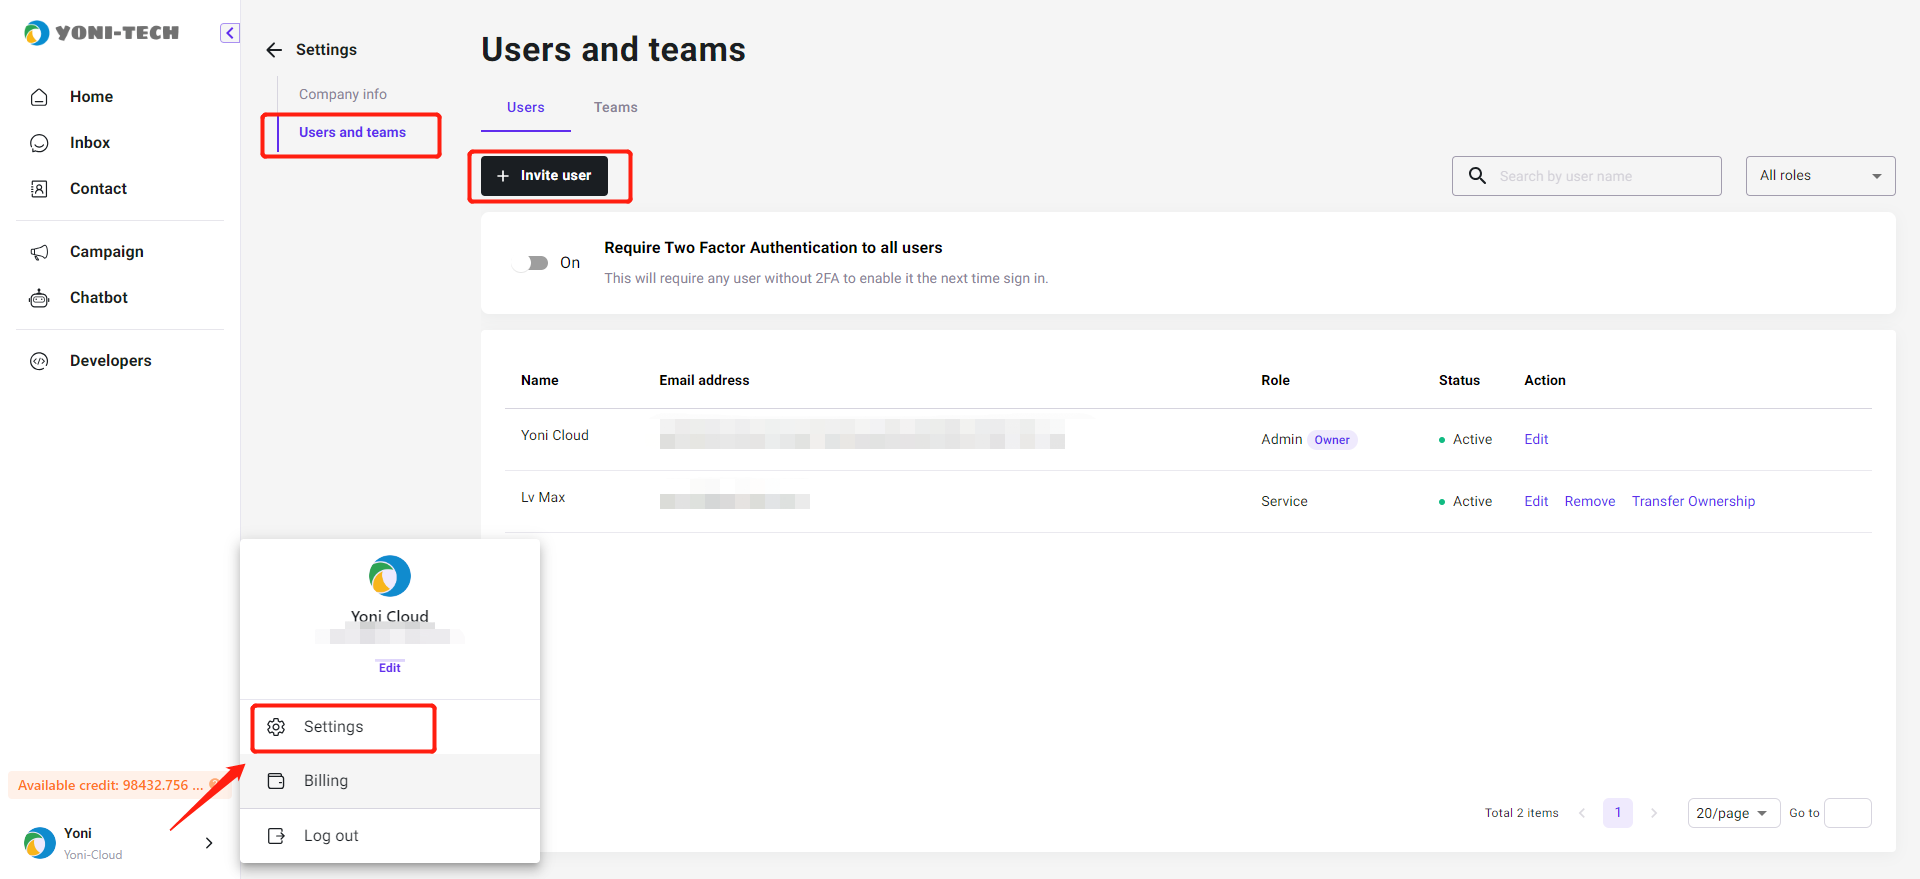
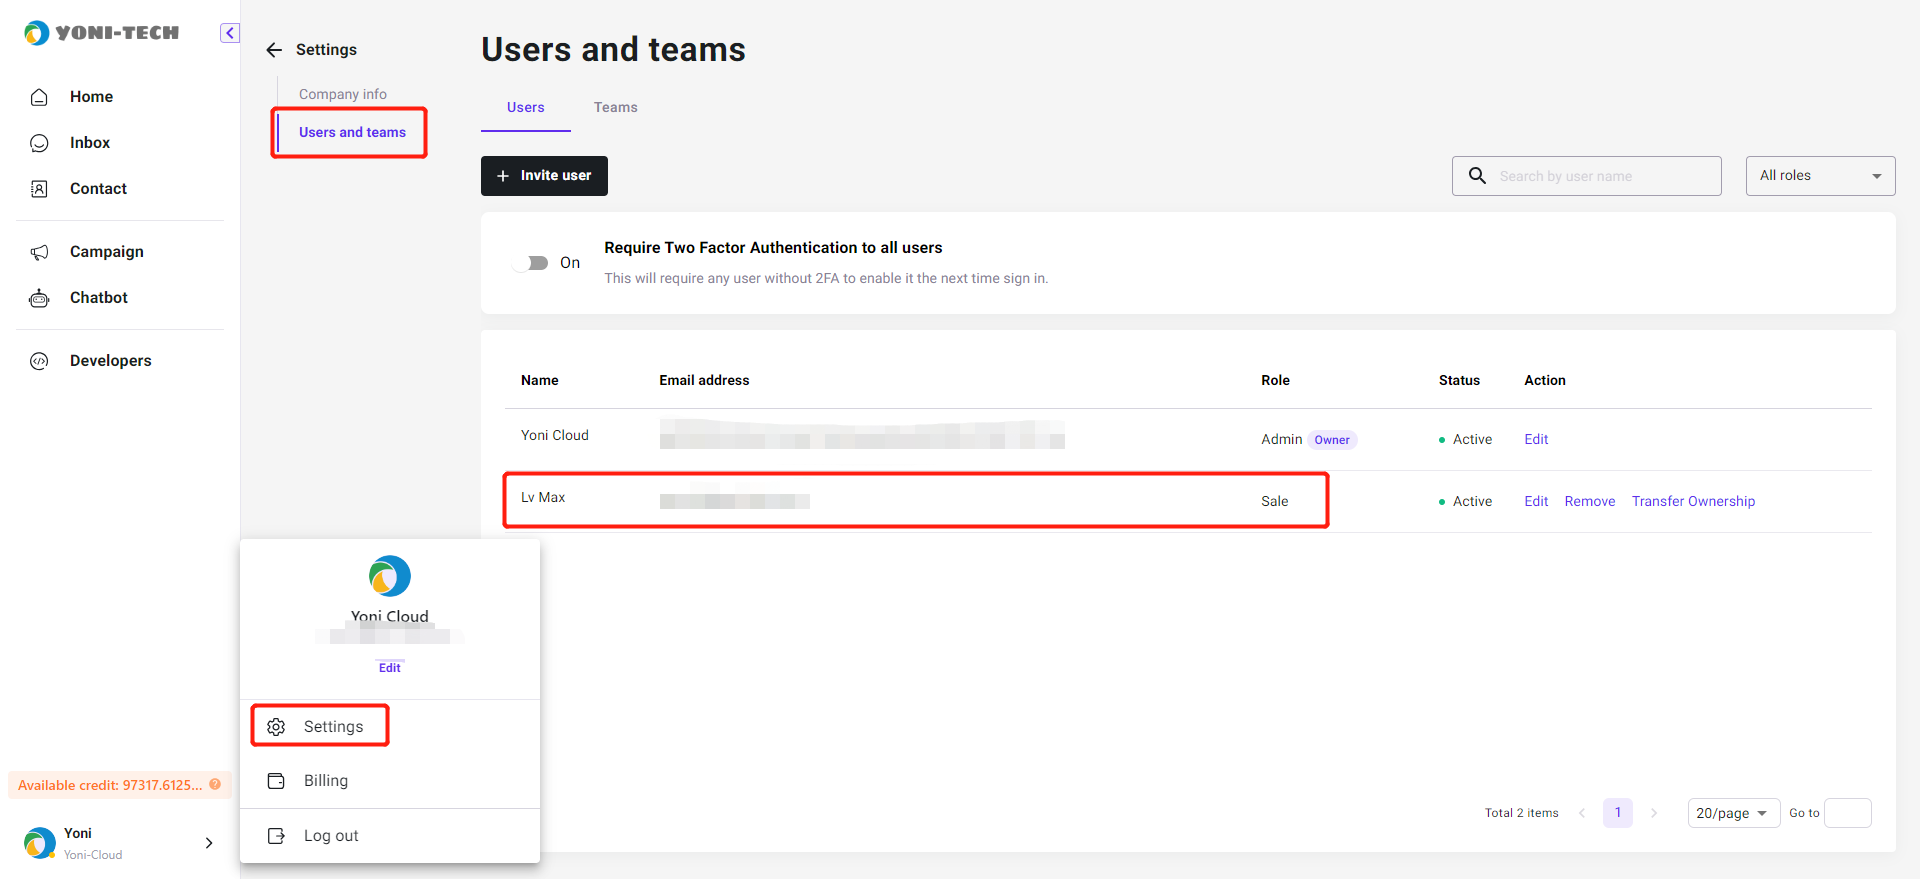
Add Inbox Admin
- Click Bottom left corner - Settings - Users and teams - Invite user, please note to select the 'Inbox manager' role
- Enter the email address and submit the invitation.
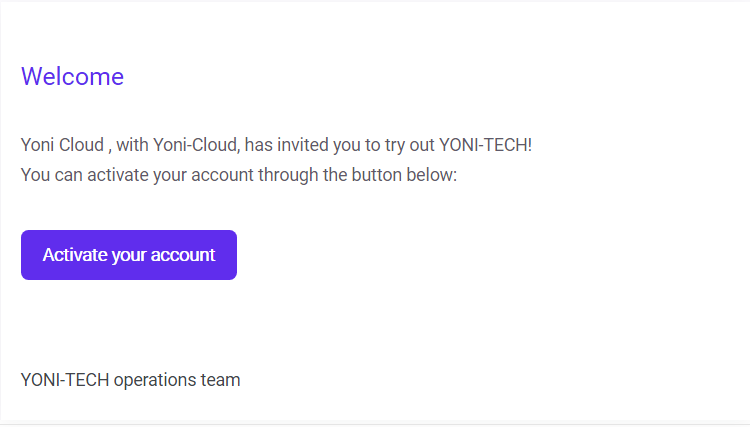
- After receiving the invitation email, the user needs to complete the registration by clicking the link which attached to the email. After finish registration, the user will become the Inbox Manger of the account.
Note
The inbox manager will only be able to see all the messages of the inbox, while the inbox manager could not check other data of this account.
Add Agent (Customer Service)
Step 1: Invite Agent
- Click Bottom left corner - Settings - Users and teams - Invite user, please note to select the role as Service.
- Enter the email address and submit the invitation.
Step 2: Accept the invitation
After the admin sends an invitation email to the corresponding agent email, the agent needs to click the invitation link in the email to complete the registration. Please note that the agent does not need to register for another account separately.
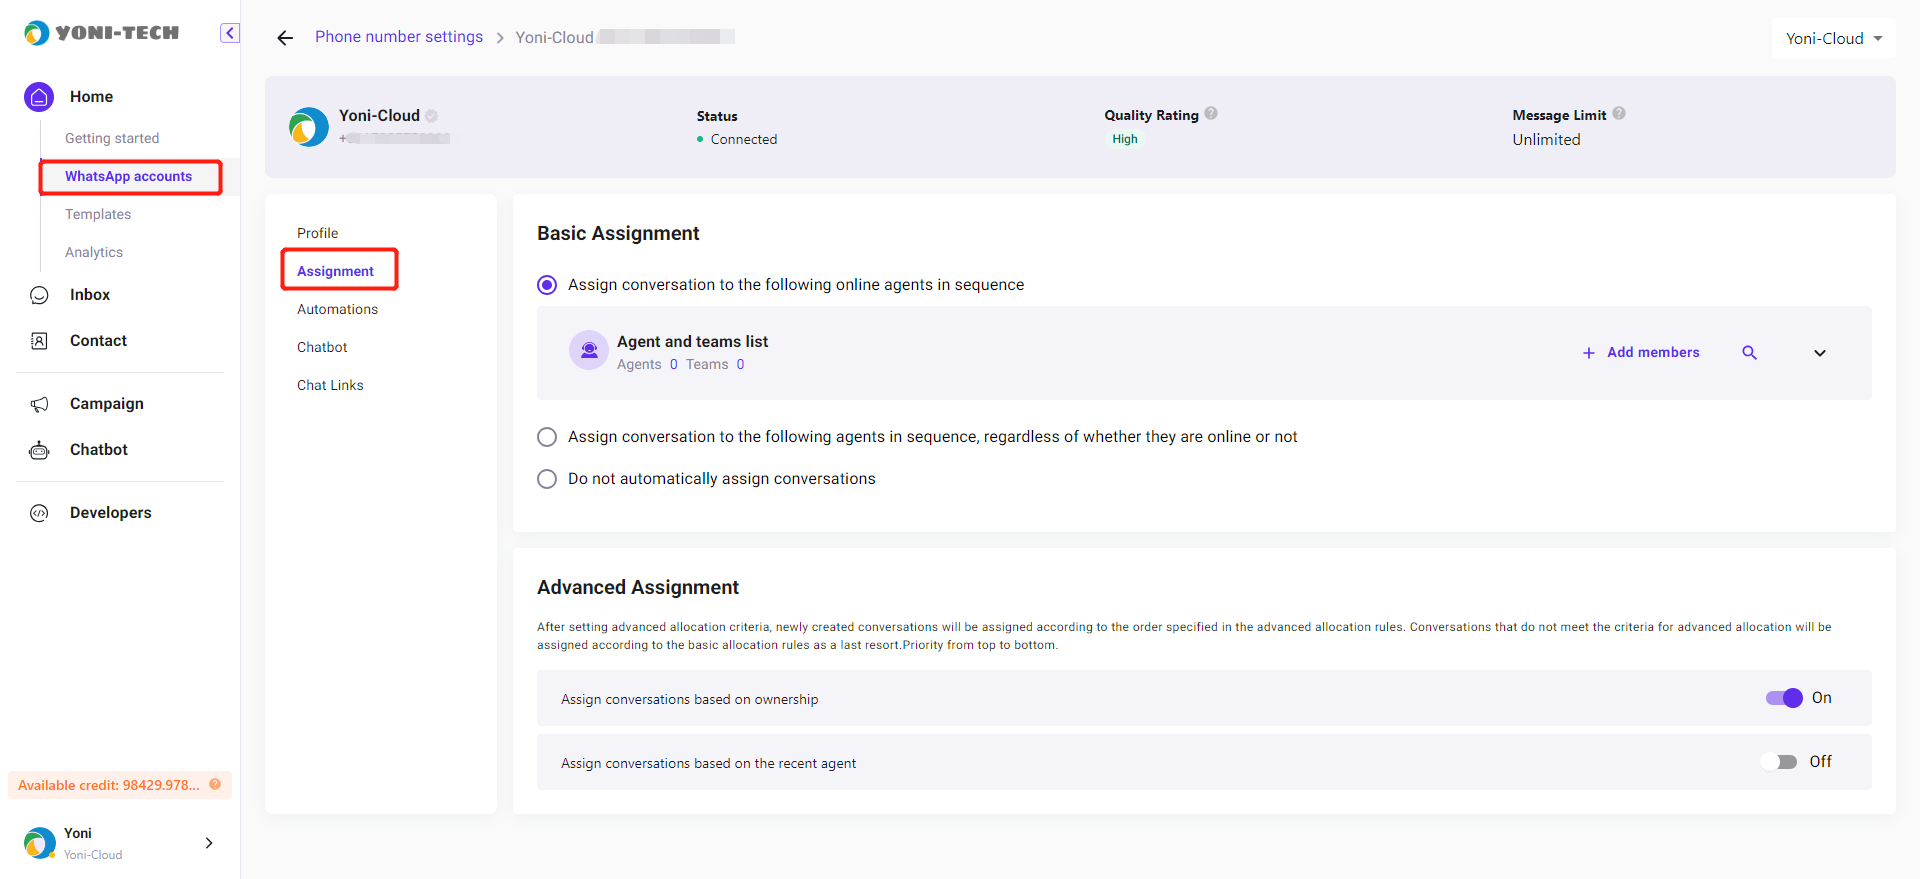
Step 3: Configure Conversation Assignment Rules
Allocate conversations received from WhatsApp to agents.
Guidance: WhatsApp accounts - Settings - Assignment.
Basic Assignment:
- Assign conversation to the online agents in sequence
- Assign conversation to the agents in sequence, regardless of whether they are online or not
- Do not automatically assign conversations, all conversations go into the "Unassigned"
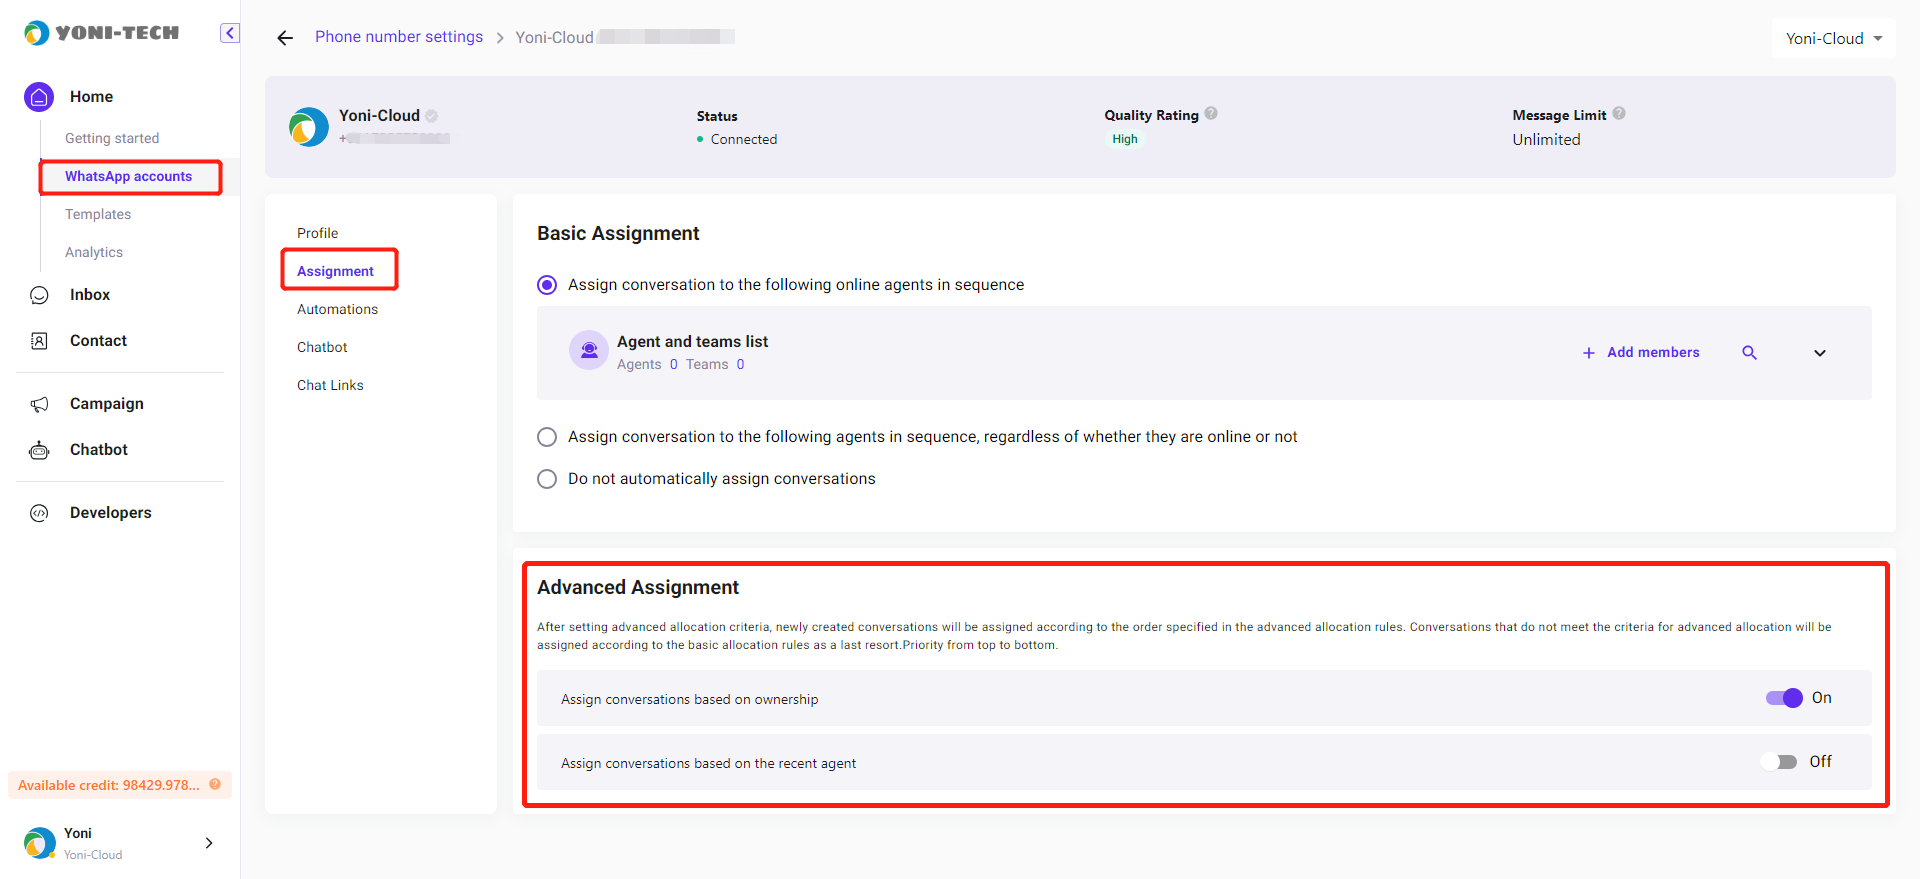
Advanced Assignment (Optional):
Note
When the advanced assignment rules toggle is enabled, it prioritizes the execution of advanced assignment rules. Only when the advanced assignment rules cannot be met will the basic assignment rule settings be executed.
- When a conversation comes in, it checks if the user has an Owner. If there is an Owner, the conversation will be assigned to that Owner.
- Conversations will be assigned to the previous agent who handled the conversation (provided that the agent is online).
Add Agent (Sales)
The permission differences between sales roles and customer service roles
Visible Conversation
Sales can only see conversations assigned to themselves and conversations where they are the owner. What is owner attribute
Transfer Permission
Sales do not have the option to transfer conversations. They can only transfer their own customers by changing the owner to another agent. When a sale changes the owner to another agent, the conversation is automatically transferred to the new agent.
Customer service can transfer conversations and modify the owner as well.
Step 1:Add a sale agent
- Click Bottom left corner - Settings - Users and teams - Invite user, please note to select the role as Sale.
- Enter the email address and submit the invitation.
Step 2: Accept the invitation
After receiving the email, sales can click the "Active" button in the email to accept the invitation and access the inbox.
Step 3: Assign conversation to sales
Authorize the inbox for sales. Only by adding sales to this inbox can they receive messages from it.
- Guidance: WhatsApp accounts - Settings - Assignment
- Add sales in the "Assignment"
- After the settings are configured, messages received from the current WhatsApp number will be automatically assigned to the sales representative in sequence
Agent Status
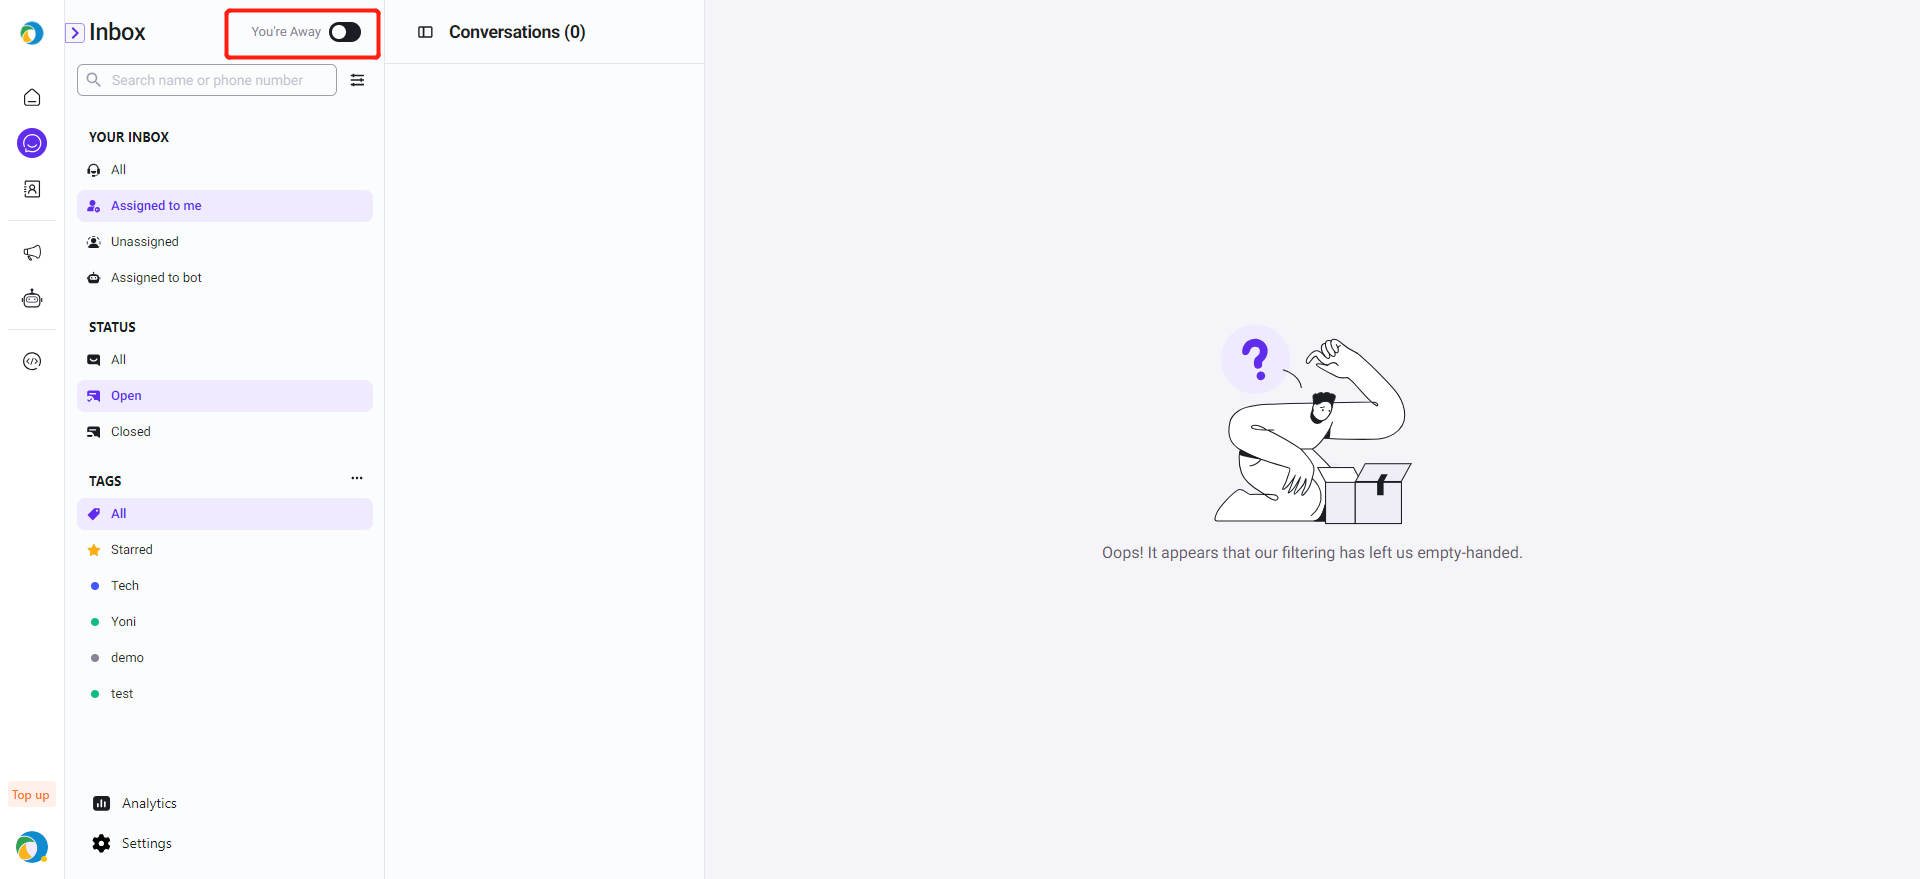
When agents log in, their default status is set to "Away."
When the status is "You're Away," new incoming conversations will not be automatically assigned. The agent needs to manually toggle their status to "You're Available."
Guidance-
Left navigation bar: Inbox - Click on the button "You're Away" at the top.
Assignment & Transfer of Conversations
Conversation Assignment
- Automatic Assignment: When a new conversation is initiated, the inbox will automatically distribute it evenly based on the currently online agents under the corresponding number.
- Manual Claiming: If a new conversation is initiated but no agent is online under the corresponding number, the conversation will be placed in the Unassigned interface. In this case, you need to wait until an agent is online and manually claim the conversation for a response.
Conversation Transfer
Click on the 'Transfer' button in the upper right corner of the conversation. If there are other agents online, you can click on the name of the agent to transfer the conversation to them for handling.
Note
Attention please: If you have set up automatic replies with a BOT in the BOT settings, you still need to manually click the 'Transfer' button to switch to human customer service. Otherwise, even if a human agent has already responded manually, the BOT's automatic reply will still be triggered.

Conversations are automatically assigned to the Owner (Customer service/Sales)
We supports assigning an Owner to a specific customer, which is similar to sales attribution in CRM systems.
When a conversation from that customer comes in, it can be automatically assigned to the designated Owner based on their ownership.
One
Invite the agent, and authorize the inbox to the agent.
- Customer Service Guidance: Click to view details
- Sales Guidance: Click to view details
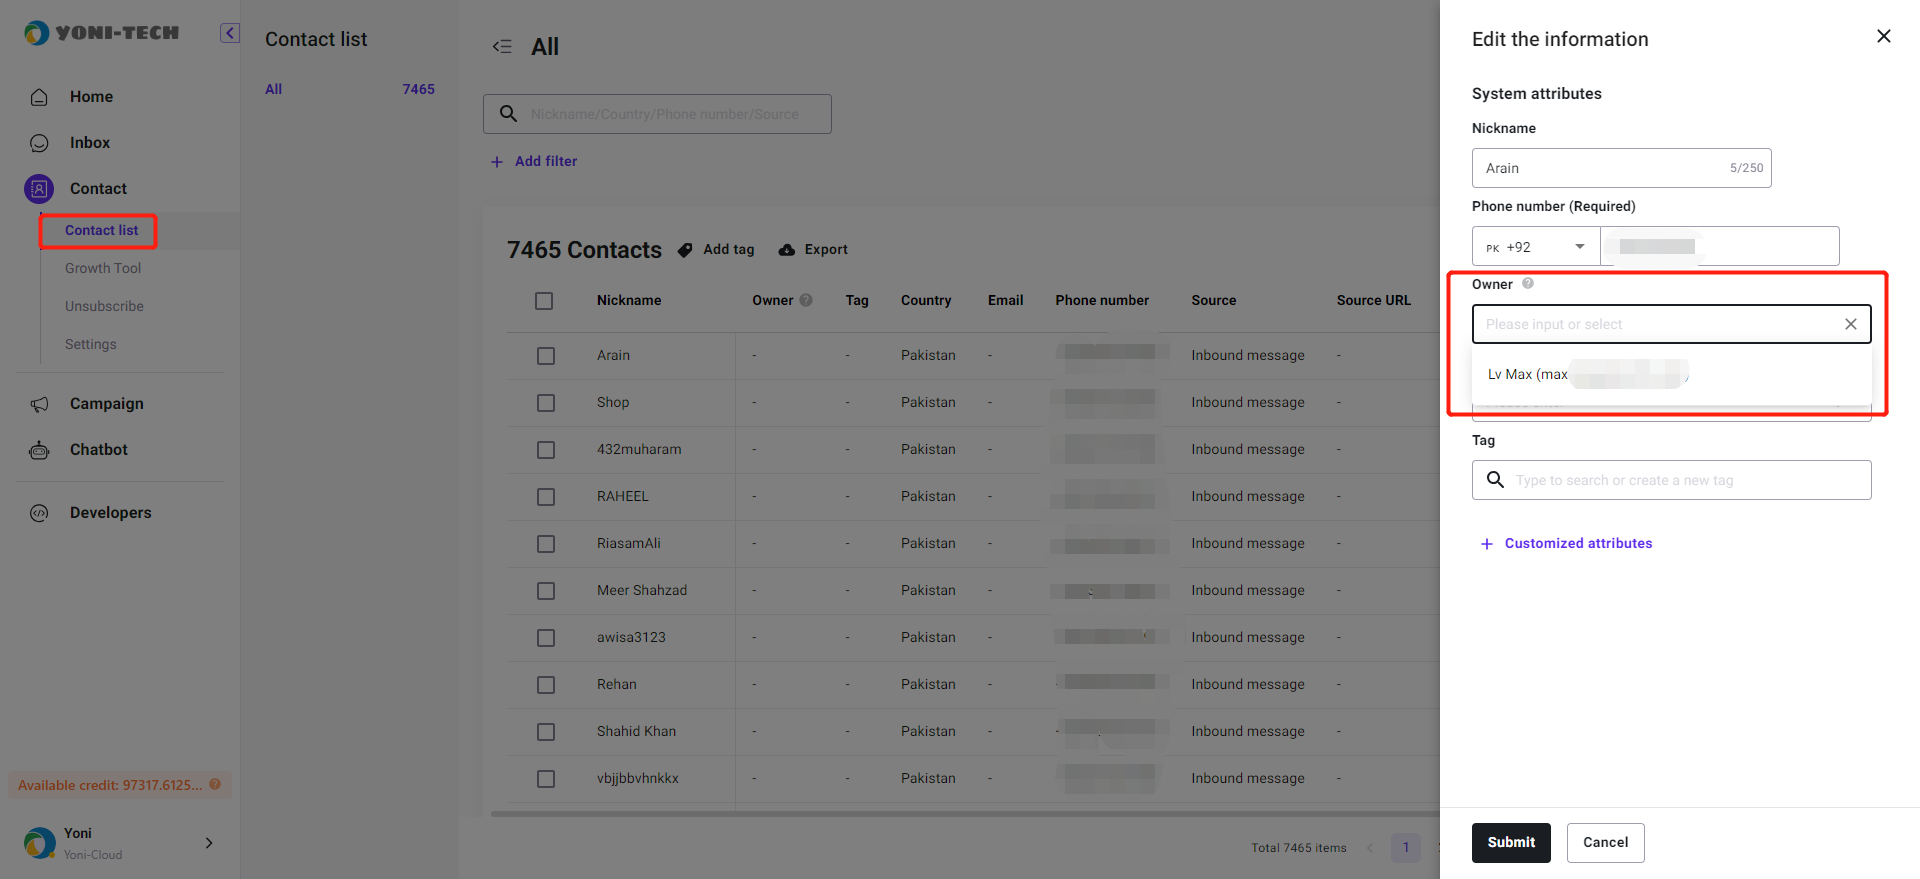
Two
Set the Owner of the specified customer to this Agent on the Contact page.
When entering the Owner, you can choose an existing Agent or input an email (in cases where this email has not yet been associated with an Agent).
Click to view other configuration methods: Specify the Owner during Contact document import.
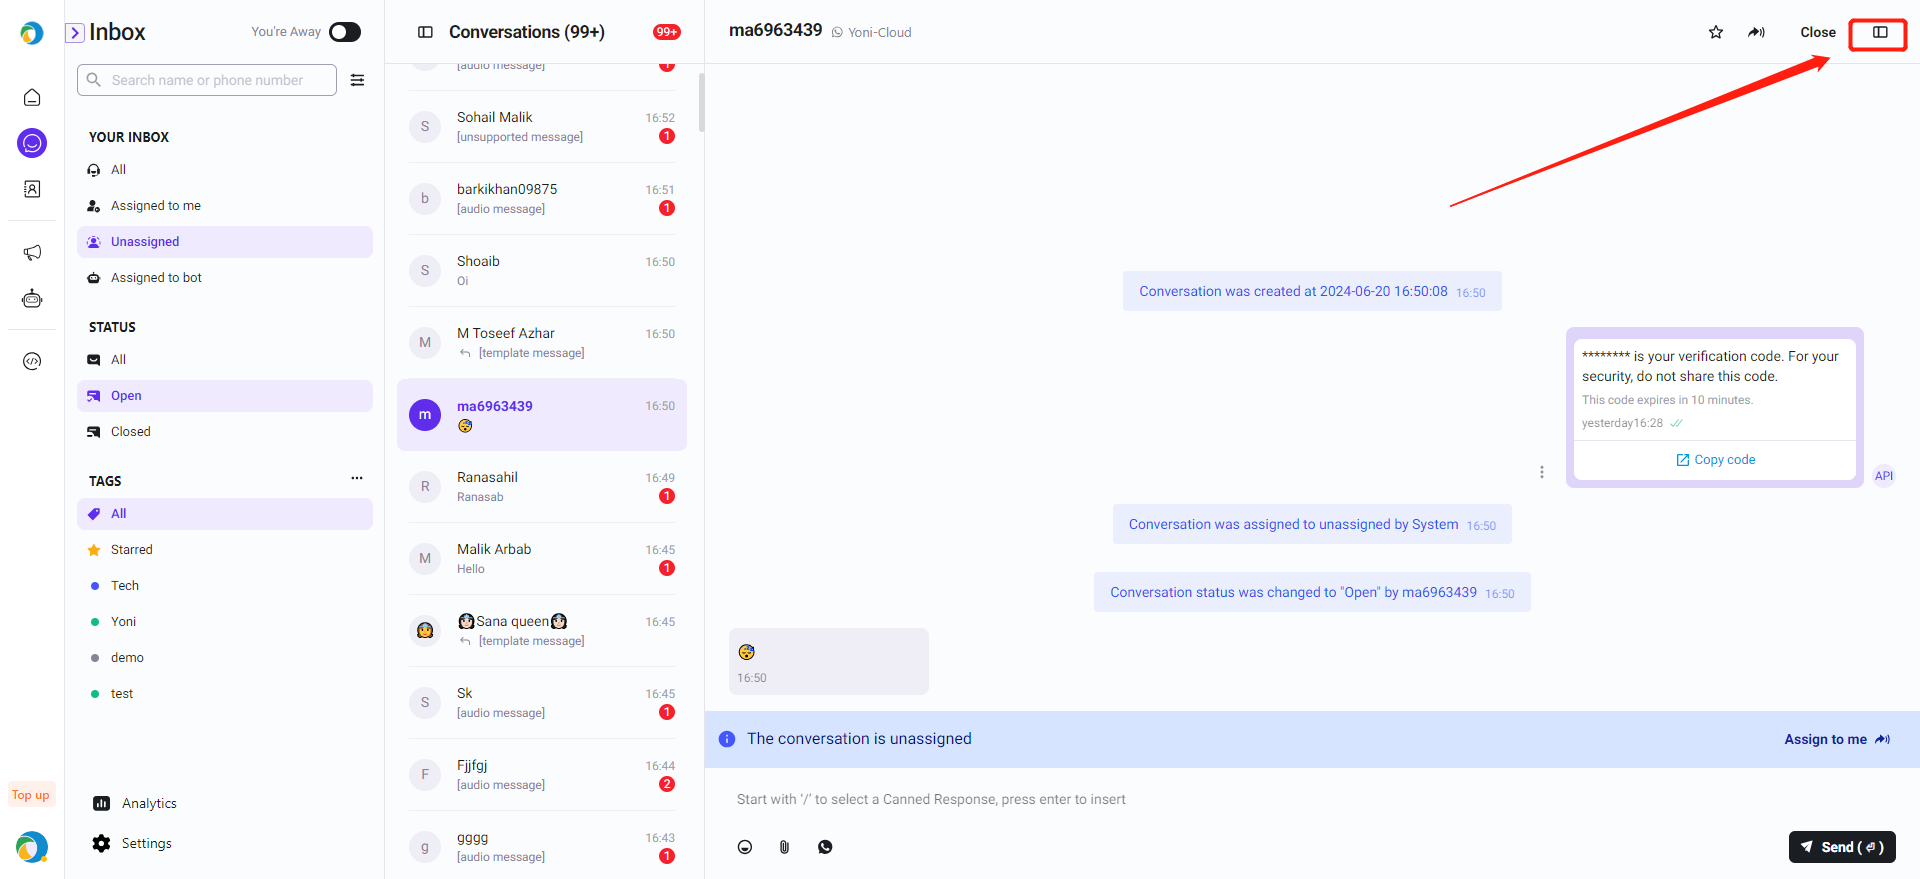
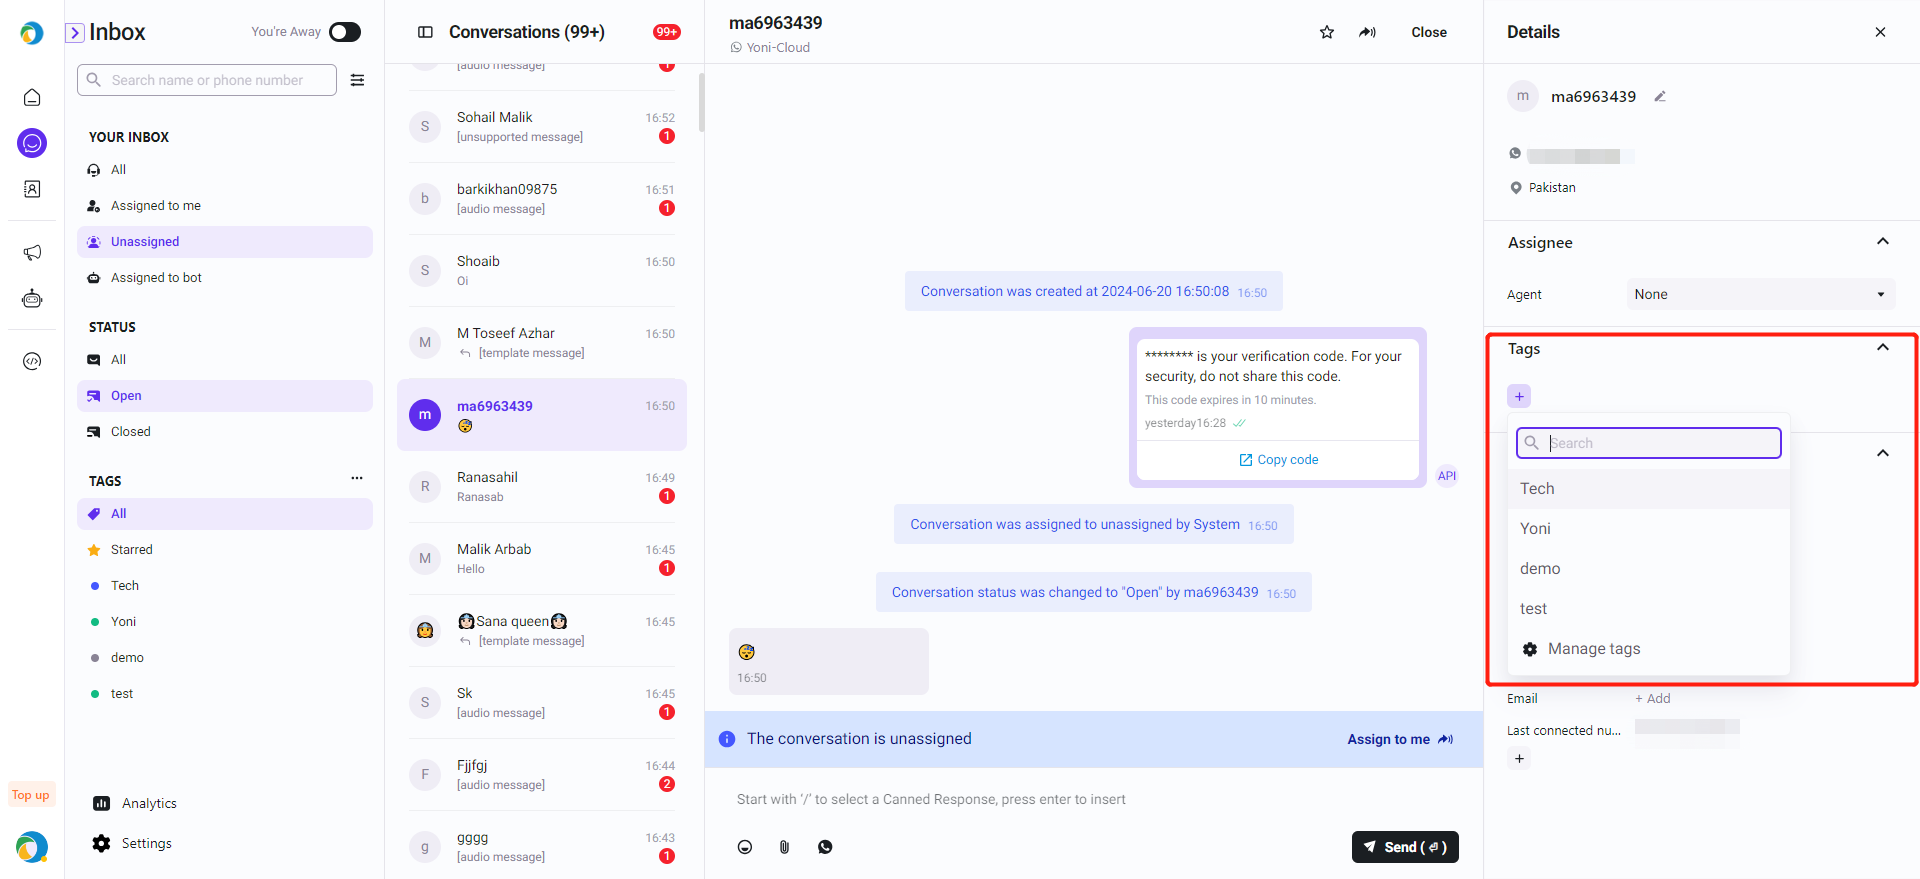
Add tag to your customers
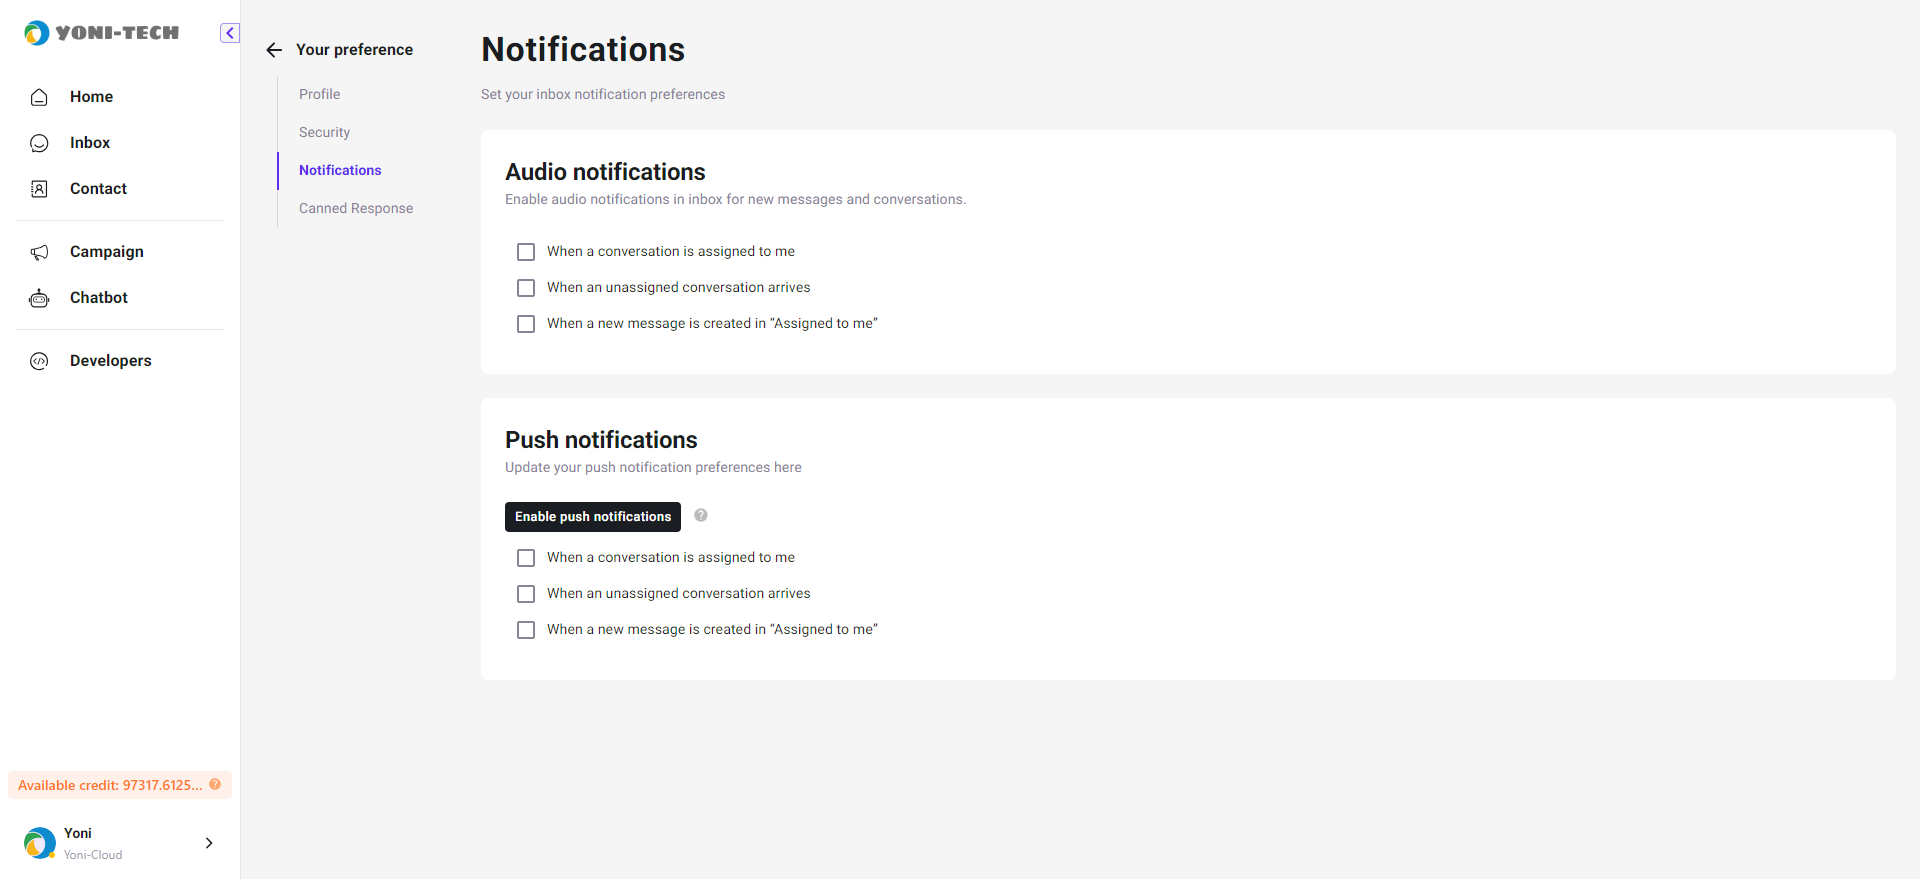
Message Notification
Agents can set message notifications and reminders in the Inbox, including two types:
- Sound Alerts
- Popup Alerts
Use templates to send messages
We supports directly invoking message templates to send messages to customers in inbox, and allows for variable replacement within template messages to transmit actual content.
- select a template
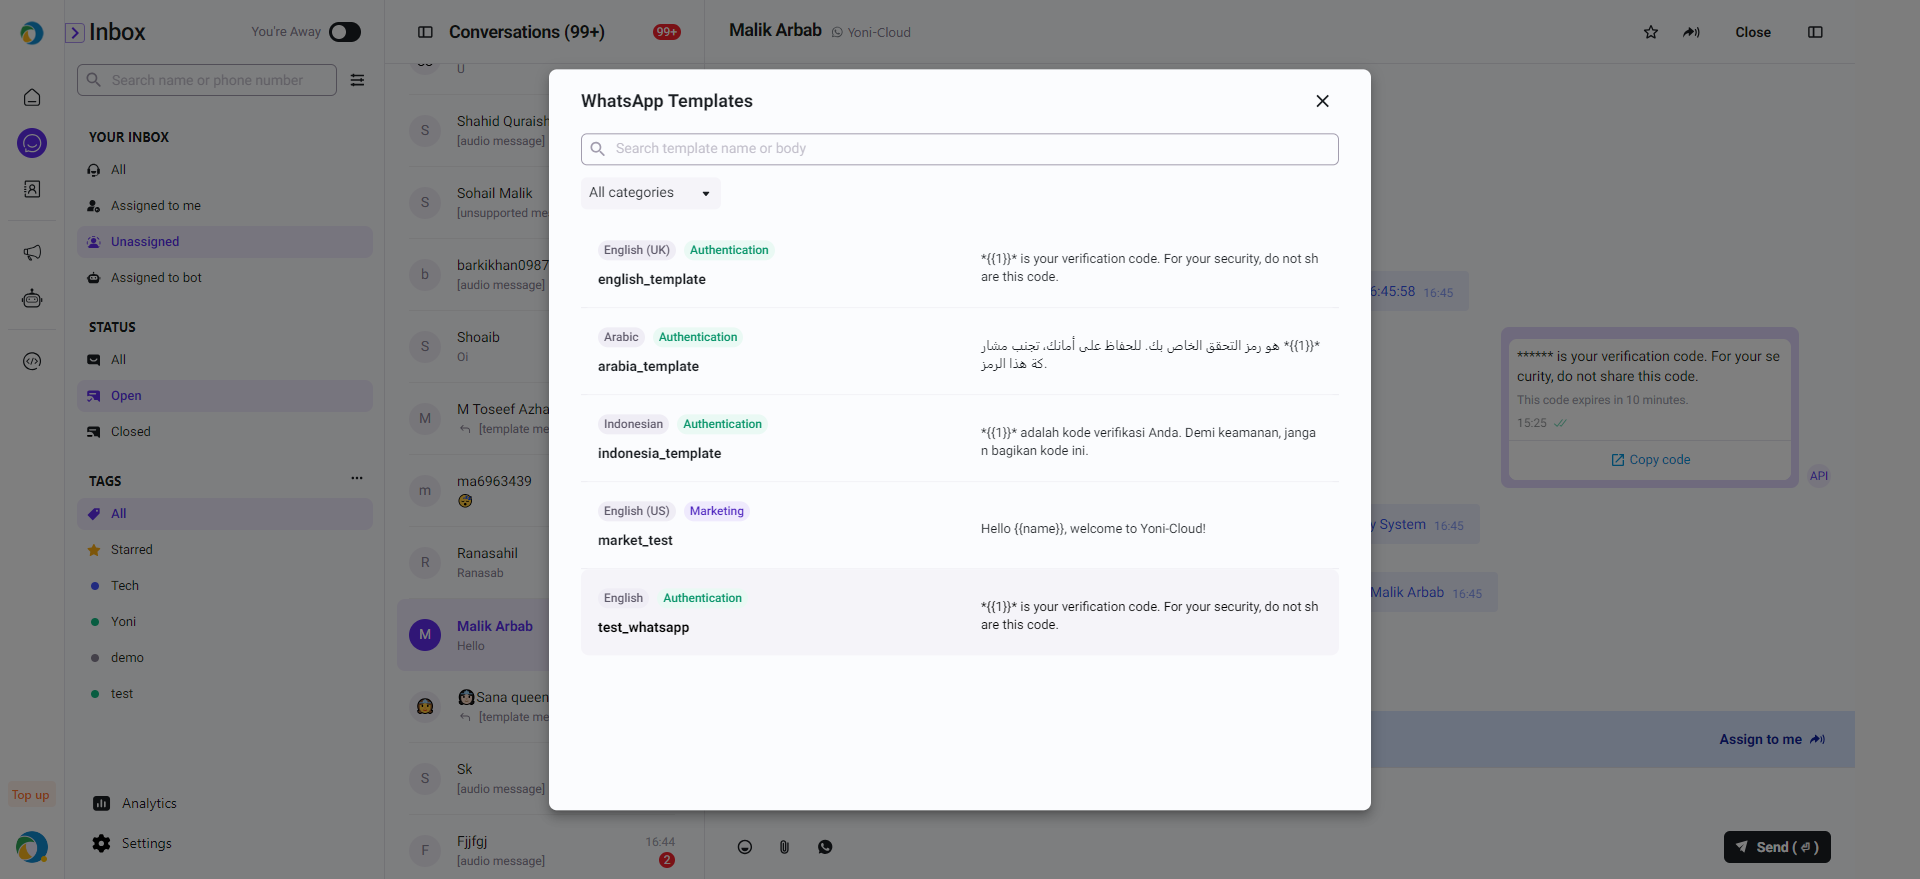
- modify variables

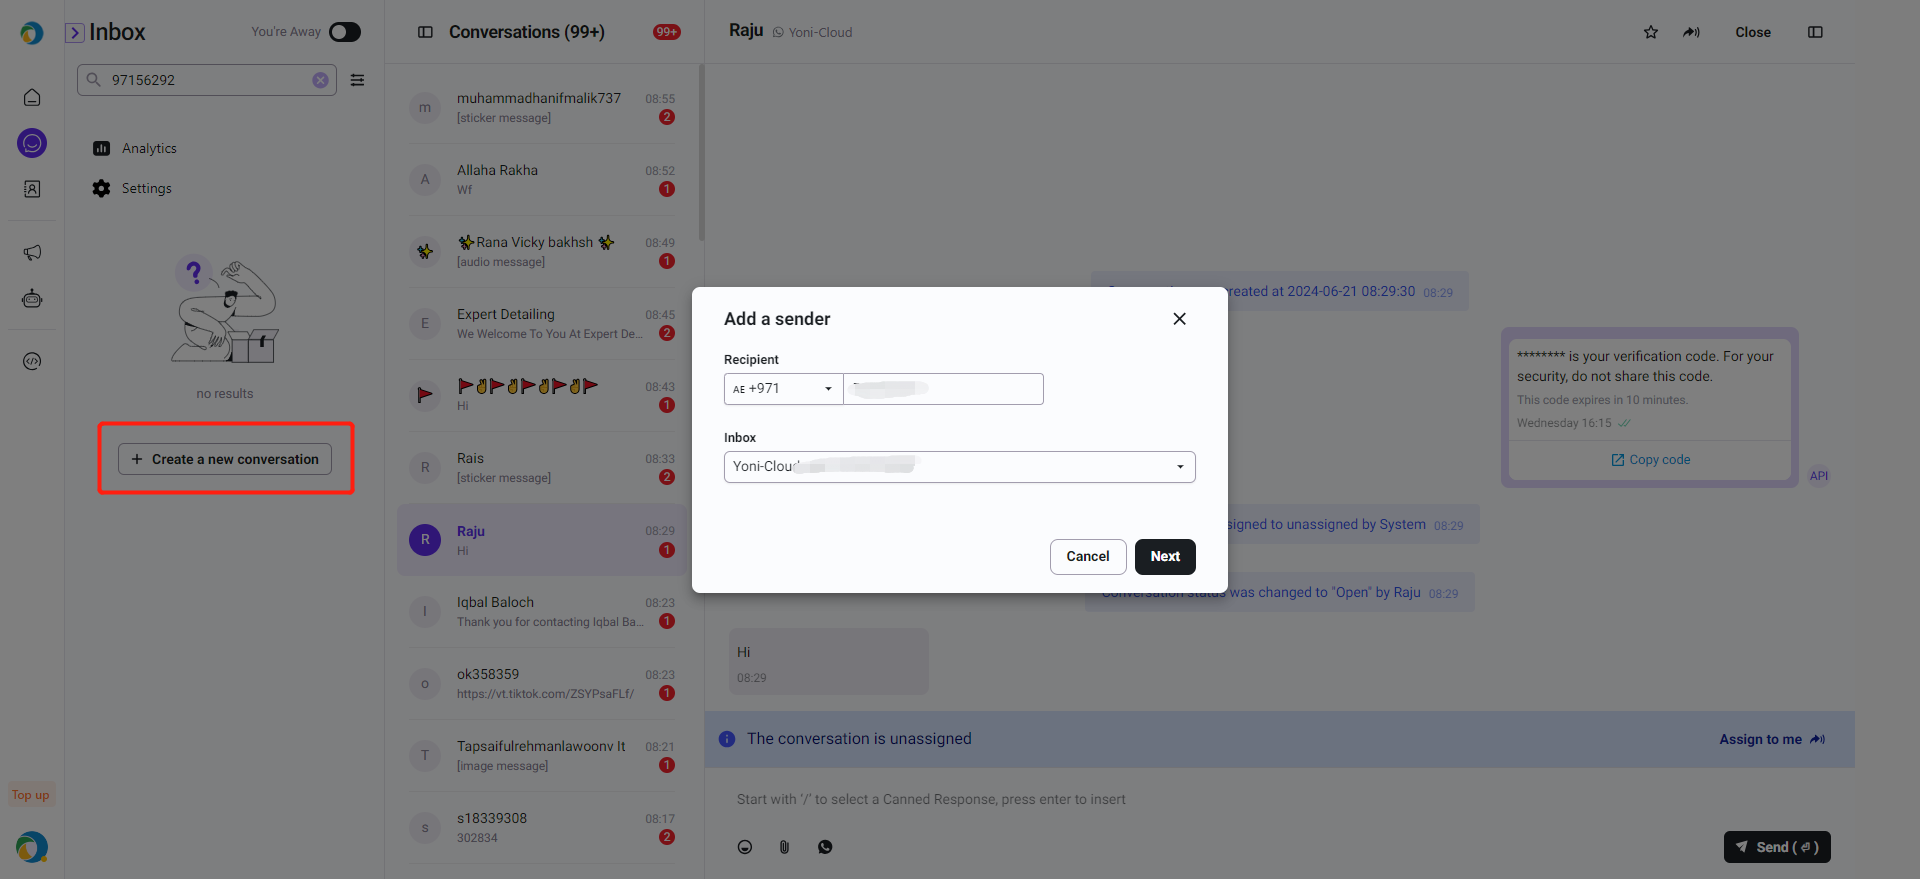
Create new conversation
Agents can initiate new conversations with consumers who have not engaged in a conversation before.
Step 1: Enter phone number into the search box
If this phone number has existed in the past conversation, agents could click the existing conversation to send messages.
If agents want to create a new conversation, please view the Step 2
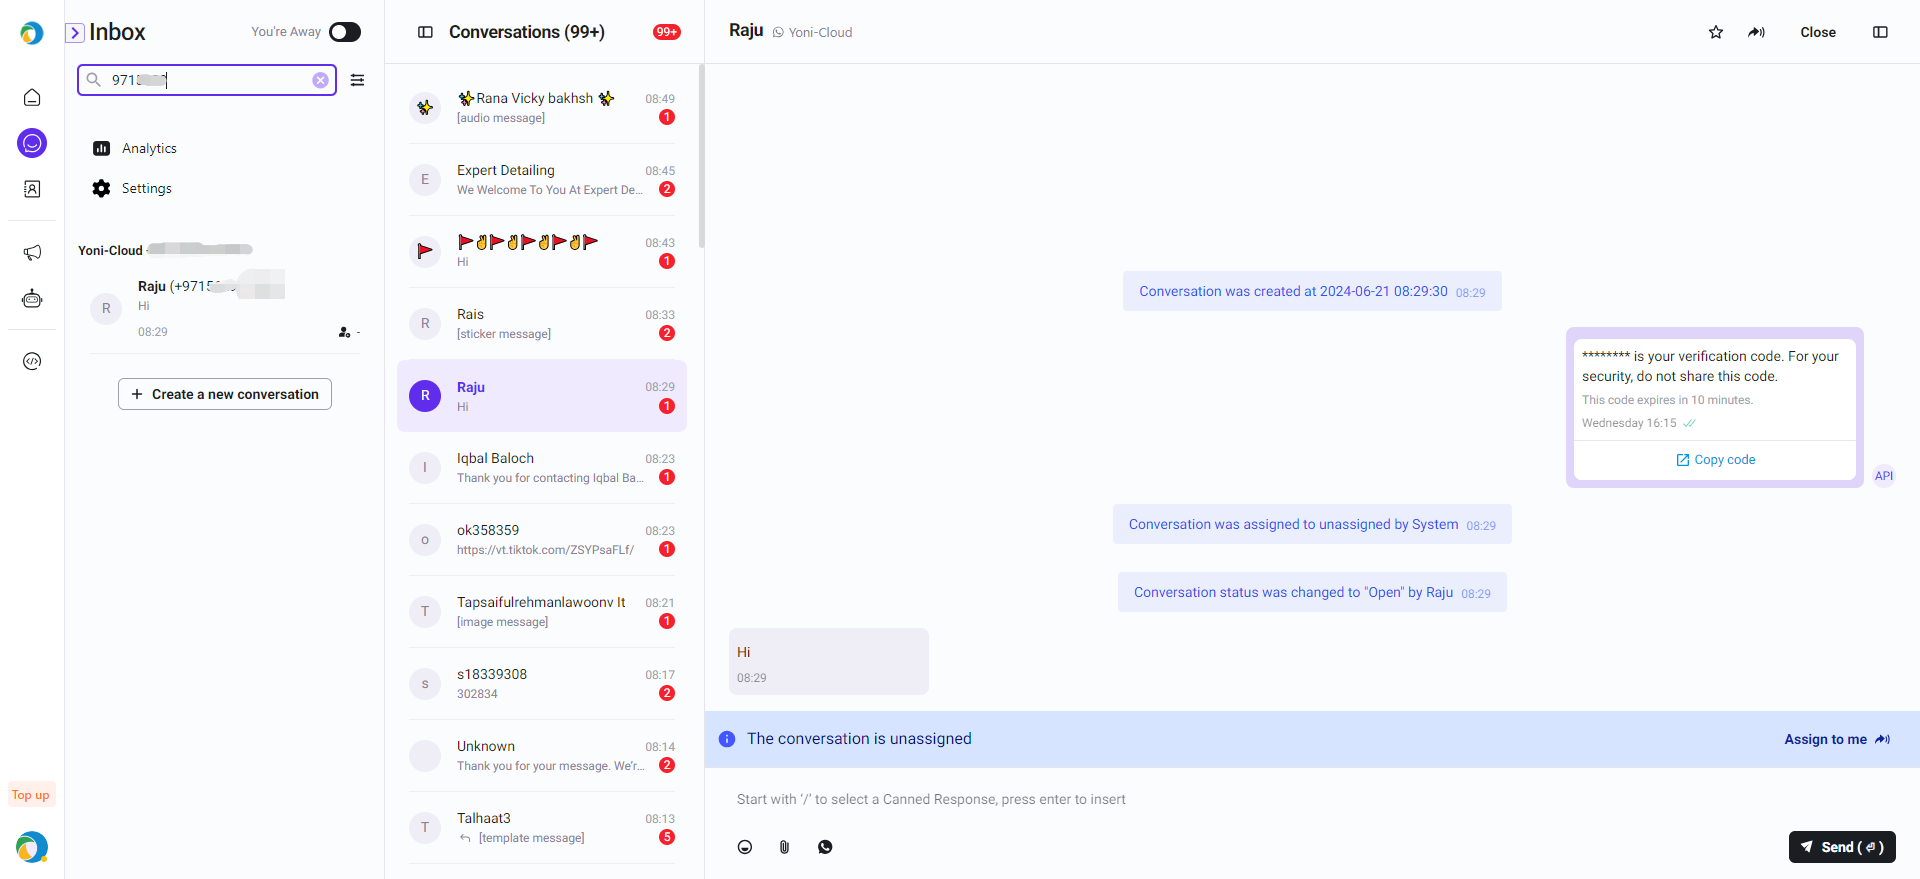
Step 2:Click "+ Create a new conversation"
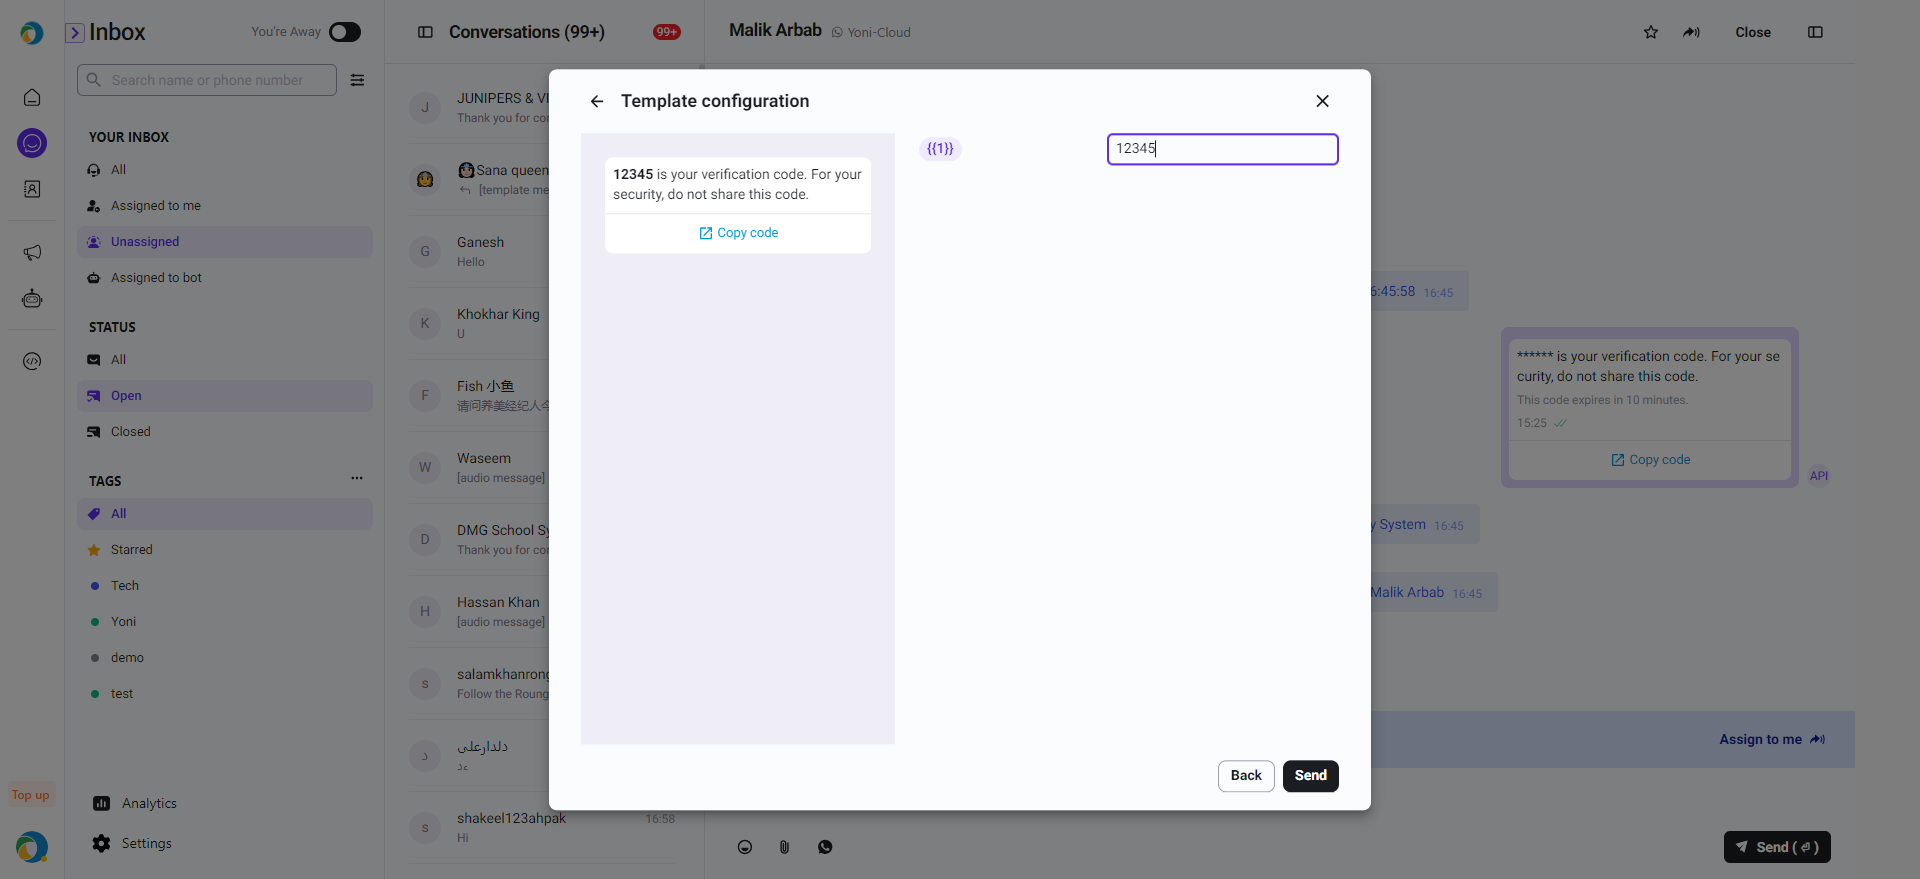
Step 3: Select the template you want to send

Step 4: Confirm the template content/set template variables.
After confirming, Click "Send"
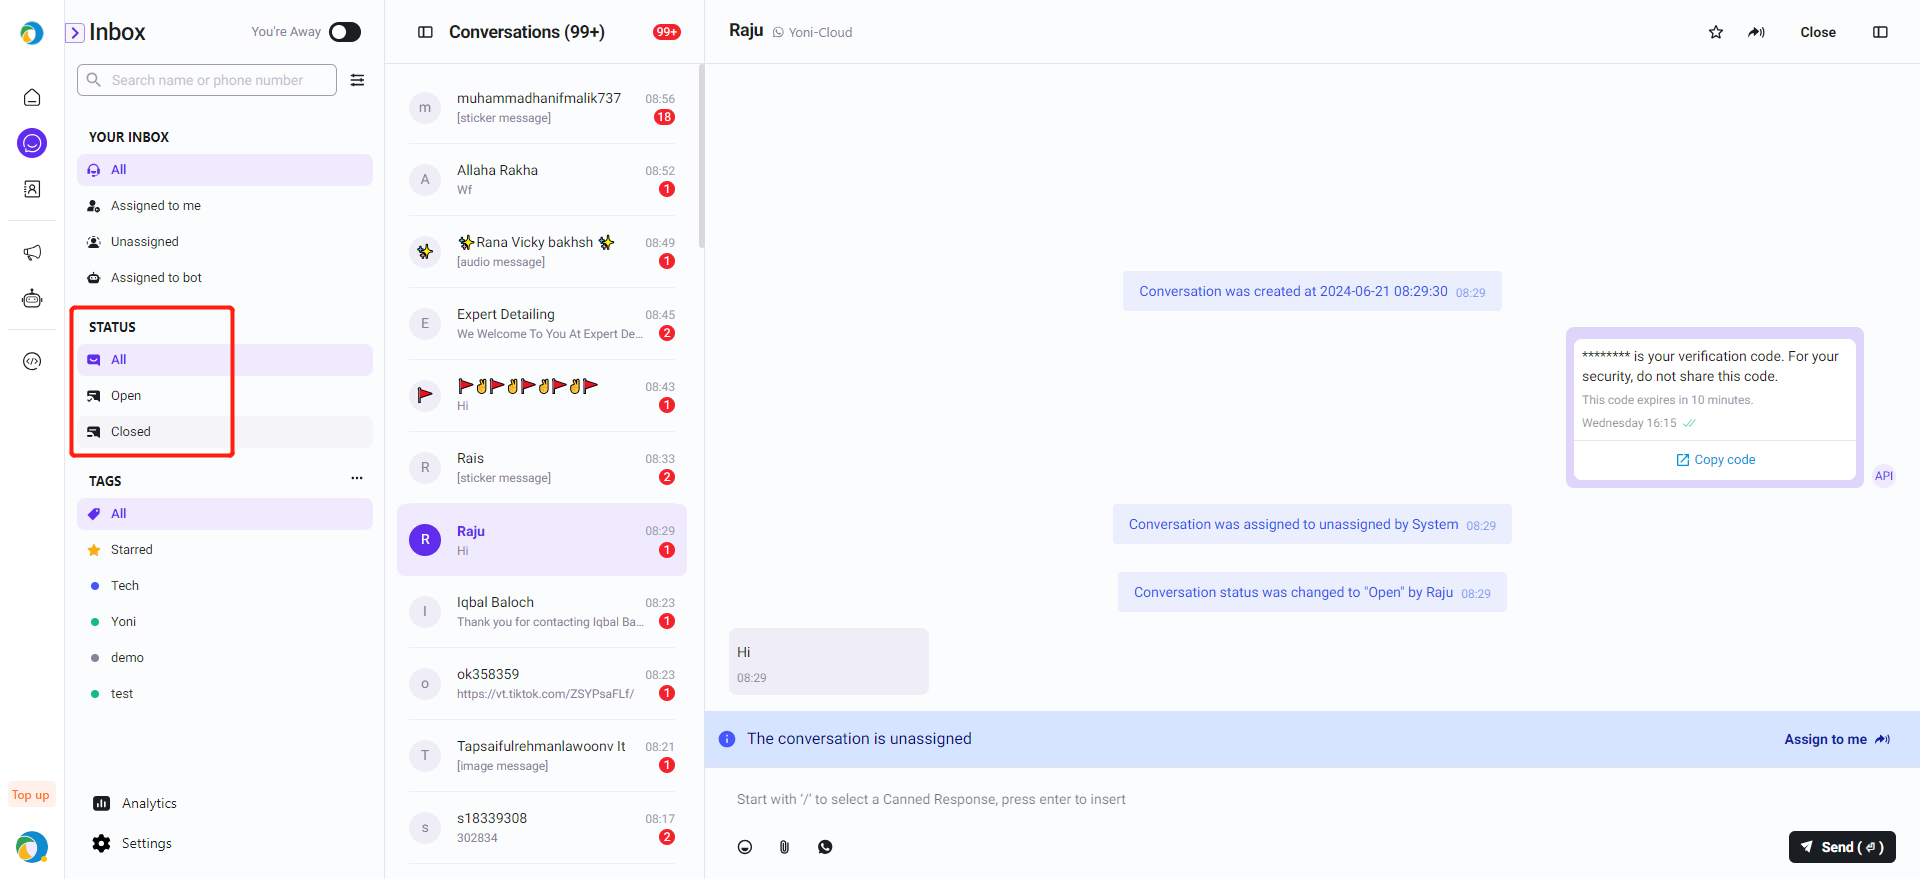
Conversation Status
The Inbox message status include:
- Open
- Close
Filter Conversation Status
Inbox supports filtering and finding conversations based on the current conversation status and labels.
Click on the status under STATUS on the left/labels under TAGS for filtering.