Follow the steps below to start integrating the eSIM API service
Step 1: Contact Sales to Create a Sandbox Account
Before starting the integration, please contact our sales team to create a sandbox account for your organization.
The sandbox account is used for API testing, application initialization, webhook configuration, and order workflow verification.
Step 2: Activate the Sandbox Account and Initialize appSecret
appSecretAfter receiving the sandbox account, log in to the client portal and go to the Developer page to initialize your appSecret.
The appId and appSecret are required for request signing and API authentication.
Authentication
Signature Rule
All APIs require header-based authentication. Please include the following parameters in the HTTP header:
Name Type Required Description appIdString yes Application ID assigned by the platform timestampString yes Current timestamp in milliseconds signString yes HMAC-SHA256 signature string
Signature Algorithm
Prepare Parameters:
appId: Assigned application ID (Header)timestamp: Current timestamp (Header)path: Request path (URI), for example/v1/package/e-sim/page(excluding the domain name and query string)Concatenate String:
Format:appId + "&" + timestamp + "&" + path
- Use the
&symbol to join each part.- Note: The parameter order must always be fixed as
appId -> timestamp -> path.Generate Signature:
Use the assignedappSecretto encrypt the concatenated string with HMAC-SHA256, and convert the result into a hexadecimal string (Hex String).
Example
import javax.crypto.Mac;
import javax.crypto.spec.SecretKeySpec;
import java.nio.charset.StandardCharsets;

public class SignExample {
    public static void main(String[] args) throws Exception {
        String appId = "Your app ID";
        String appSecret = "Your app Secret";
        String timestamp = String.valueOf(System.currentTimeMillis());
        String path = "/v1/package/e-sim/page";

        String plain = appId + "&" + timestamp + "&" + path;
        String sign = hmacSha256Hex(plain, appSecret);

        System.out.println("path = " + path);
        System.out.println("plain = " + plain);
        System.out.println("sign = " + sign);
    }

    public static String hmacSha256Hex(String data, String secret) throws Exception {
        Mac sha256Hmac = Mac.getInstance("HmacSHA256");
        SecretKeySpec secretKey = new SecretKeySpec(secret.getBytes(StandardCharsets.UTF_8), "HmacSHA256");
        sha256Hmac.init(secretKey);
        byte[] hash = sha256Hmac.doFinal(data.getBytes(StandardCharsets.UTF_8));

        StringBuilder hexString = new StringBuilder();
        for (byte b : hash) {
            String hex = Integer.toHexString(0xff & b);
            if (hex.length() == 1) {
                hexString.append('0');
            }
            hexString.append(hex);
        }
        return hexString.toString();
    }
}
const crypto = require("crypto");

const appId = "Your app ID";
const appSecret = "Your app Secret";
const timestamp = Date.now().toString();
const path = "/v1/package/e-sim/page";

const plain = `${appId}&${timestamp}&${path}`;
const sign = crypto
  .createHmac("sha256", appSecret)
  .update(plain, "utf8")
  .digest("hex");

console.log("path =", path);
console.log("plain =", plain);
console.log("sign =", sign);
import time
import hmac
import hashlib

app_id = "Your app ID"
app_secret = "Your app Secret"
timestamp = str(int(time.time() * 1000))
path = "/v1/package/e-sim/page"

plain = f"{app_id}&{timestamp}&{path}"
sign = hmac.new(
    app_secret.encode("utf-8"),
    plain.encode("utf-8"),
    hashlib.sha256
).hexdigest()

print("path =", path)
print("plain =", plain)
print("sign =", sign)
Step 3: Request the Package List API
After completing the signature configuration, you can call the package list API to retrieve available eSIM packages.
This step allows you to check package details such as destination, validity period, and data allowance before creating an order.
Step 4: Configure the Order Webhook
Go to the Developer page in the client portal and configure the Order Webhook.
The webhook is used to receive order-related event notifications automatically, such as order status updates and fulfillment results.
Step 5: Request the Order API
After confirming the package information and configuring the webhook, you can call the order API to submit an eSIM order.
Once the order is created successfully, you can use the webhook and related query APIs to track the order status and fulfillment result.
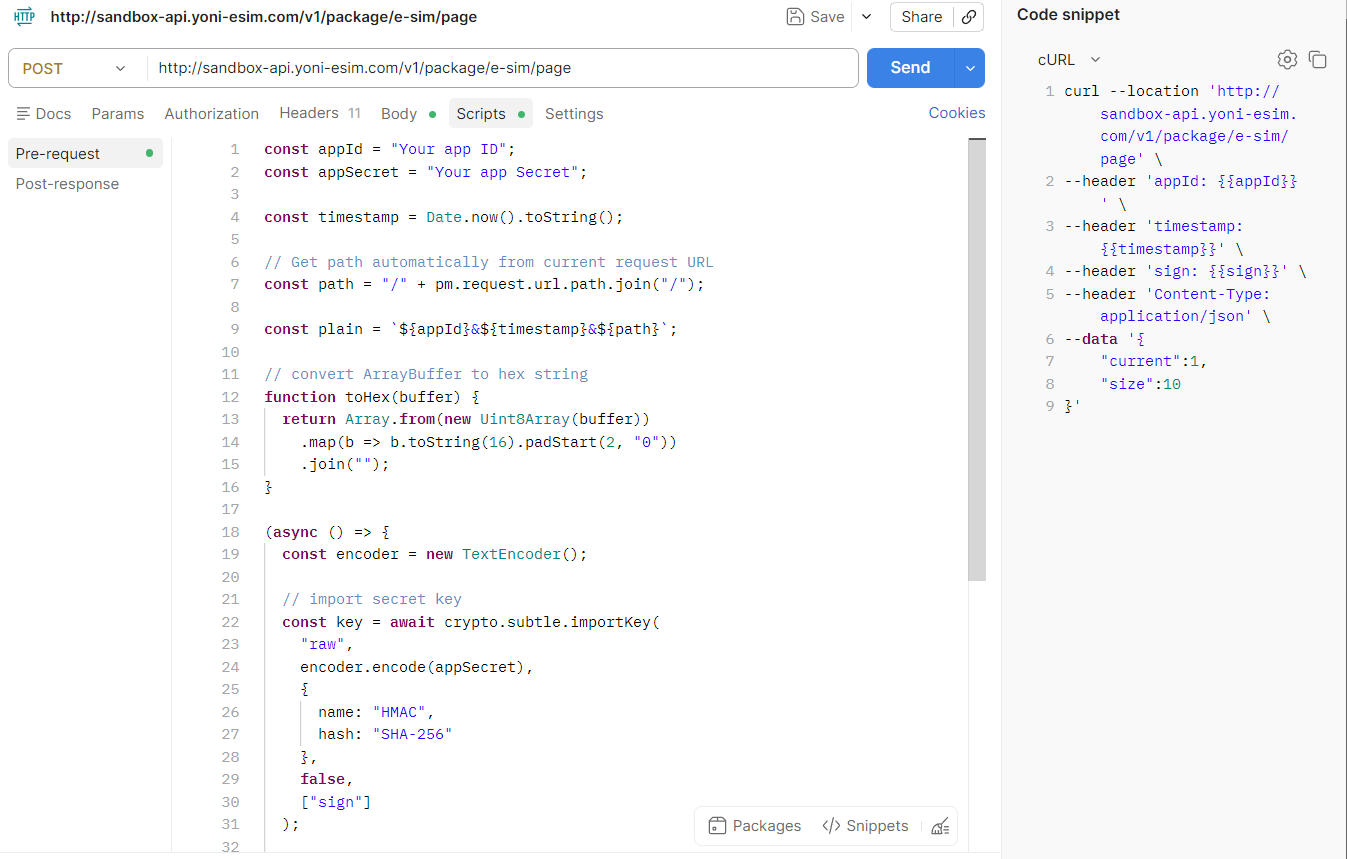
Quick Test with Postman
You can use the following script in the Pre-request Script section of Postman to generate the signature automatically:
const appId = "Your app ID";
const appSecret = "Your app Secret";

const timestamp = Date.now().toString();

// Get path automatically from current request URL
const path = "/" + pm.request.url.path.join("/");

const plain = `${appId}&${timestamp}&${path}`;

// convert ArrayBuffer to hex string
function toHex(buffer) {
  return Array.from(new Uint8Array(buffer))
    .map(b => b.toString(16).padStart(2, "0"))
    .join("");
}

(async () => {
  const encoder = new TextEncoder();

  // import secret key
  const key = await crypto.subtle.importKey(
    "raw",
    encoder.encode(appSecret),
    {
      name: "HMAC",
      hash: "SHA-256"
    },
    false,
    ["sign"]
  );

  // sign
  const signatureBuffer = await crypto.subtle.sign(
    "HMAC",
    key,
    encoder.encode(plain)
  );

  const sign = toHex(signatureBuffer);

  pm.environment.set("appId", appId);
  pm.environment.set("timestamp", timestamp);
  pm.environment.set("sign", sign);

  console.log("path =", path);
  console.log("plain =", plain);
  console.log("sign =", sign);
})();